Released jobs will always be deducted from your Print/Copy Quota first. All students start each Fall and Spring semester with a $20 Print/Copy Quota.
The system will only deduct from your Fitchburg Gold if your Print/Copy Quota has been depleted.
All print and copy jobs are defaulted as double-sided (duplex) black and white.
Printing to a Ricoh MFD
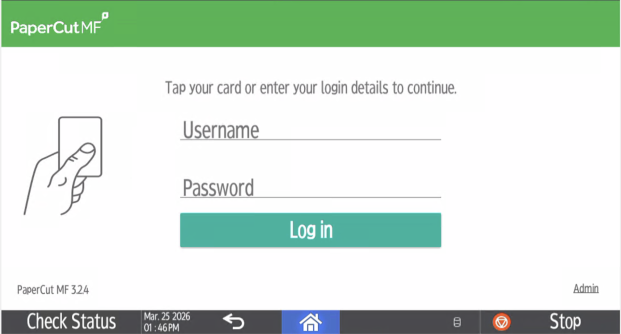
- With your OneCard, either swipe or tap on the mounted reader on the side of the machine to login.
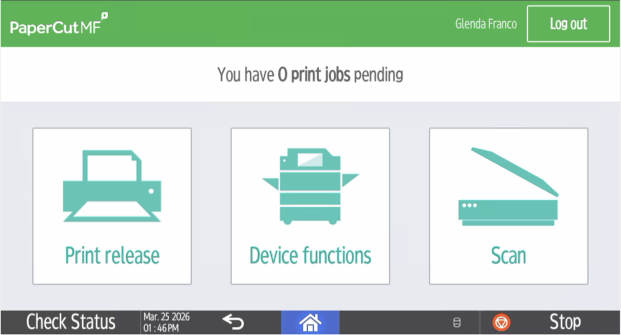
- Select the Print Release option on the display panel.
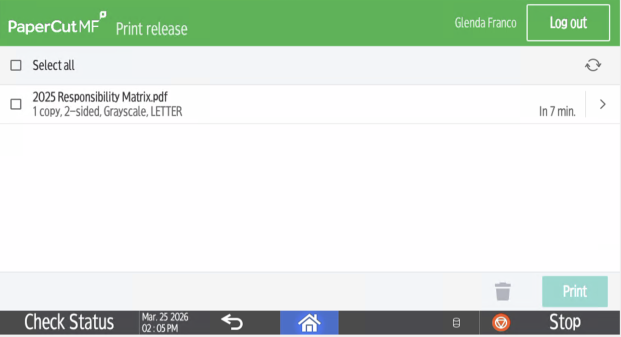
- Select the documents you want to print. You should see the checkbox next to the item change from an empty box to a filled one. Your total job cost will be shown on the top left side of the screen.
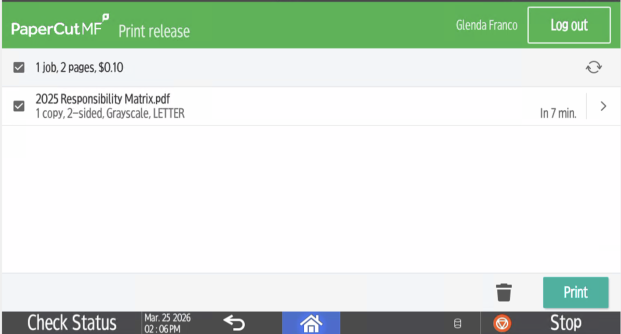
- Press the Print button on the lower right of the screen to release the document you wish to print.
- Either use the logout button on the display panel or use your OneCard with the mounted reader to logout. Your account will be charged upon logout.
Copying on a Ricoh MFD
- With your OneCard, either swipe or tap on the mounted reader on the side of the machine to login.
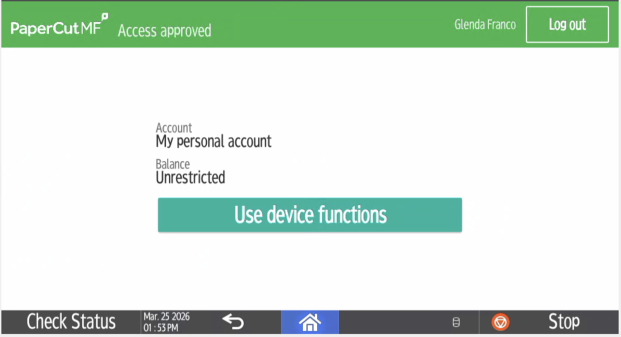
- Select the Device Functions option on the display panel. You may need to confirm by selecting the Use device functions option.
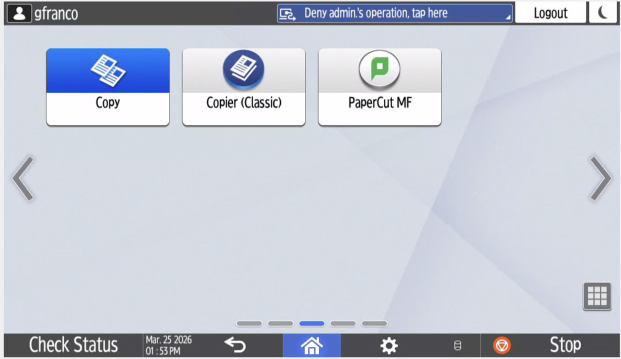
- Press the Copy or Copier (Classic) on the display panel.
- Adjust the settings on the display panel to match your needs.
- Place the document to be copied on the glass face down or in the document feeder face-up.
- Press the green Start button.
- If using the glass surface, place additional page(s) on the glass and press Start to copy; press # when done copying.
- Press OK on the pop-up.
- Either use the logout button on the display screen or use your OneCard with the mounted reader to logout. Your account will be charged upon logout.
Scanning a Document on a Ricoh MFD
- With your OneCard, either swipe or tap on the mounted reader on the side of the machine to login.
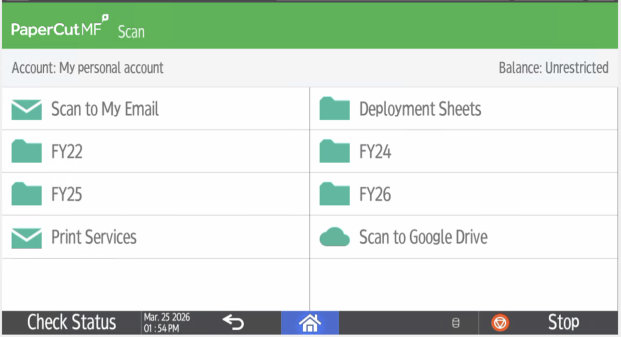
- Select the Scan option on the display panel.
- Select your preferred output method. Documents will be in PDF format and can be sent:
- As an email attachment
- To your FSU Google Drive
- To a networked drive share - this share must be created by the Technology Department prior to scanning
- Place the document to be copied on the glass face down or in the document feeder face-up.
- Press the green Start button.
- If copied from glass, place additional page(s) on the glass and press Start to copy; press # when done copying..
- Press OK on the pop-up
- Either use the logout button on the display screen or use your OneCard with the mounted reader to logout. Your account will be charged upon logout.